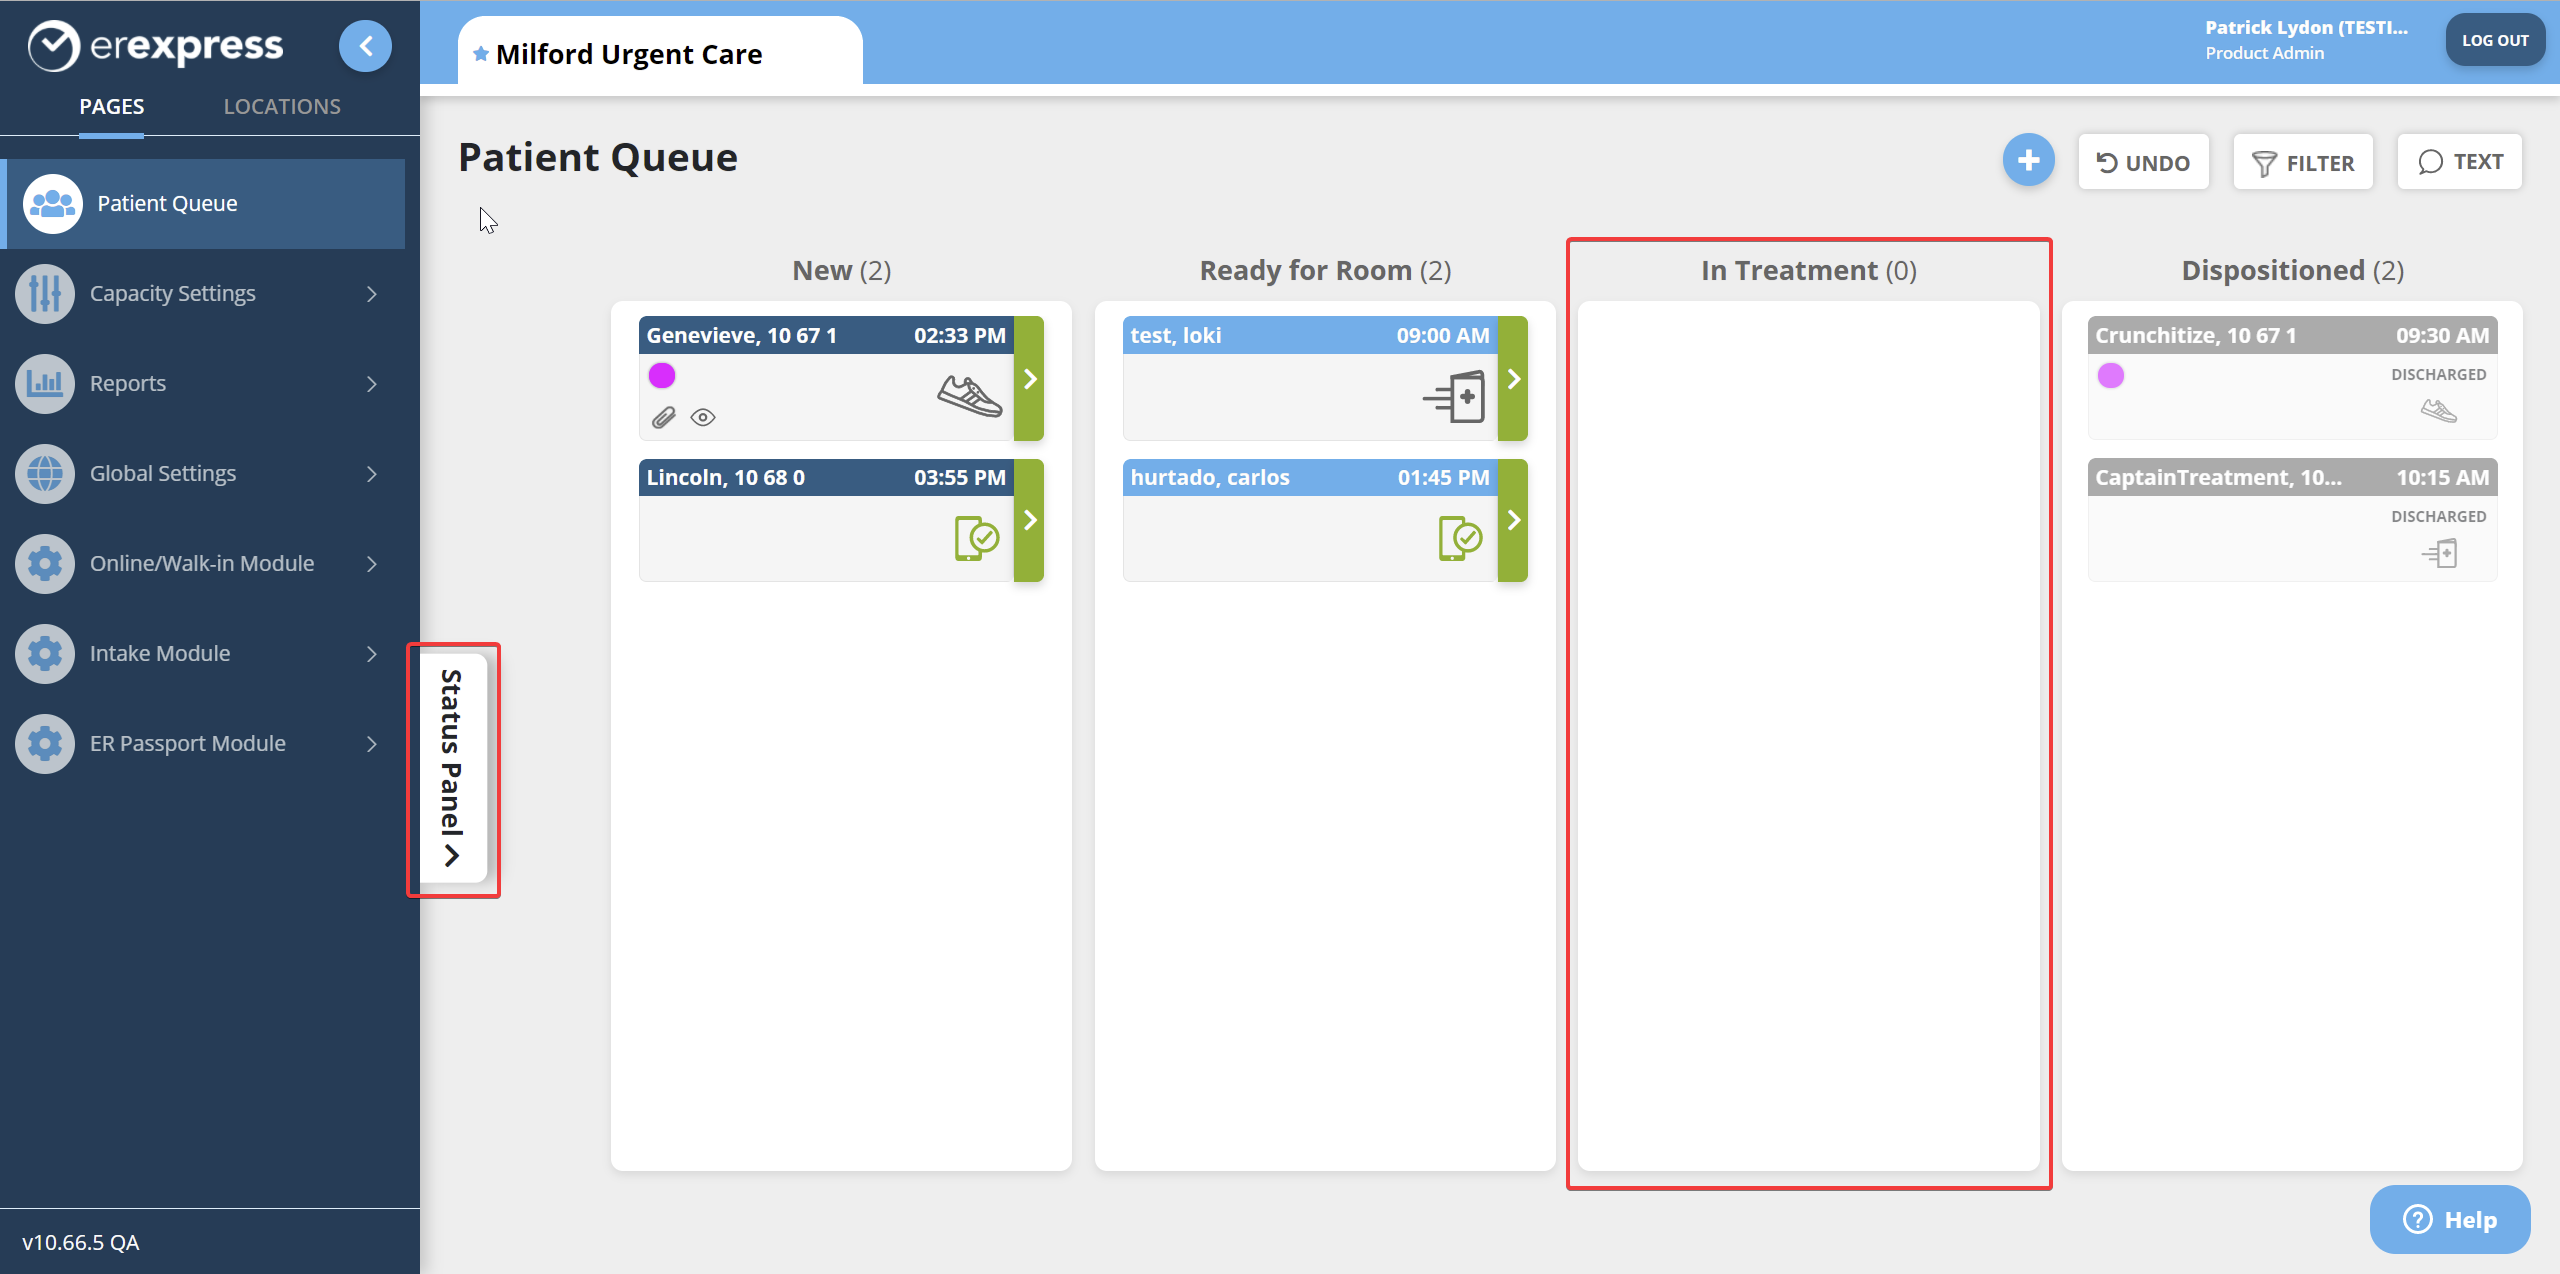
A fourth column can add an additional step to your patient workflow - giving you more accurate patient encounter statuses.
Table of Contents:
How to Add a Fourth Column to the Patient Queue
How to Change the Label of the New Column
How to Customize the Messages Sent to Patient Moved Into the New Column
How to Add a Fourth Column to the Patient Queue
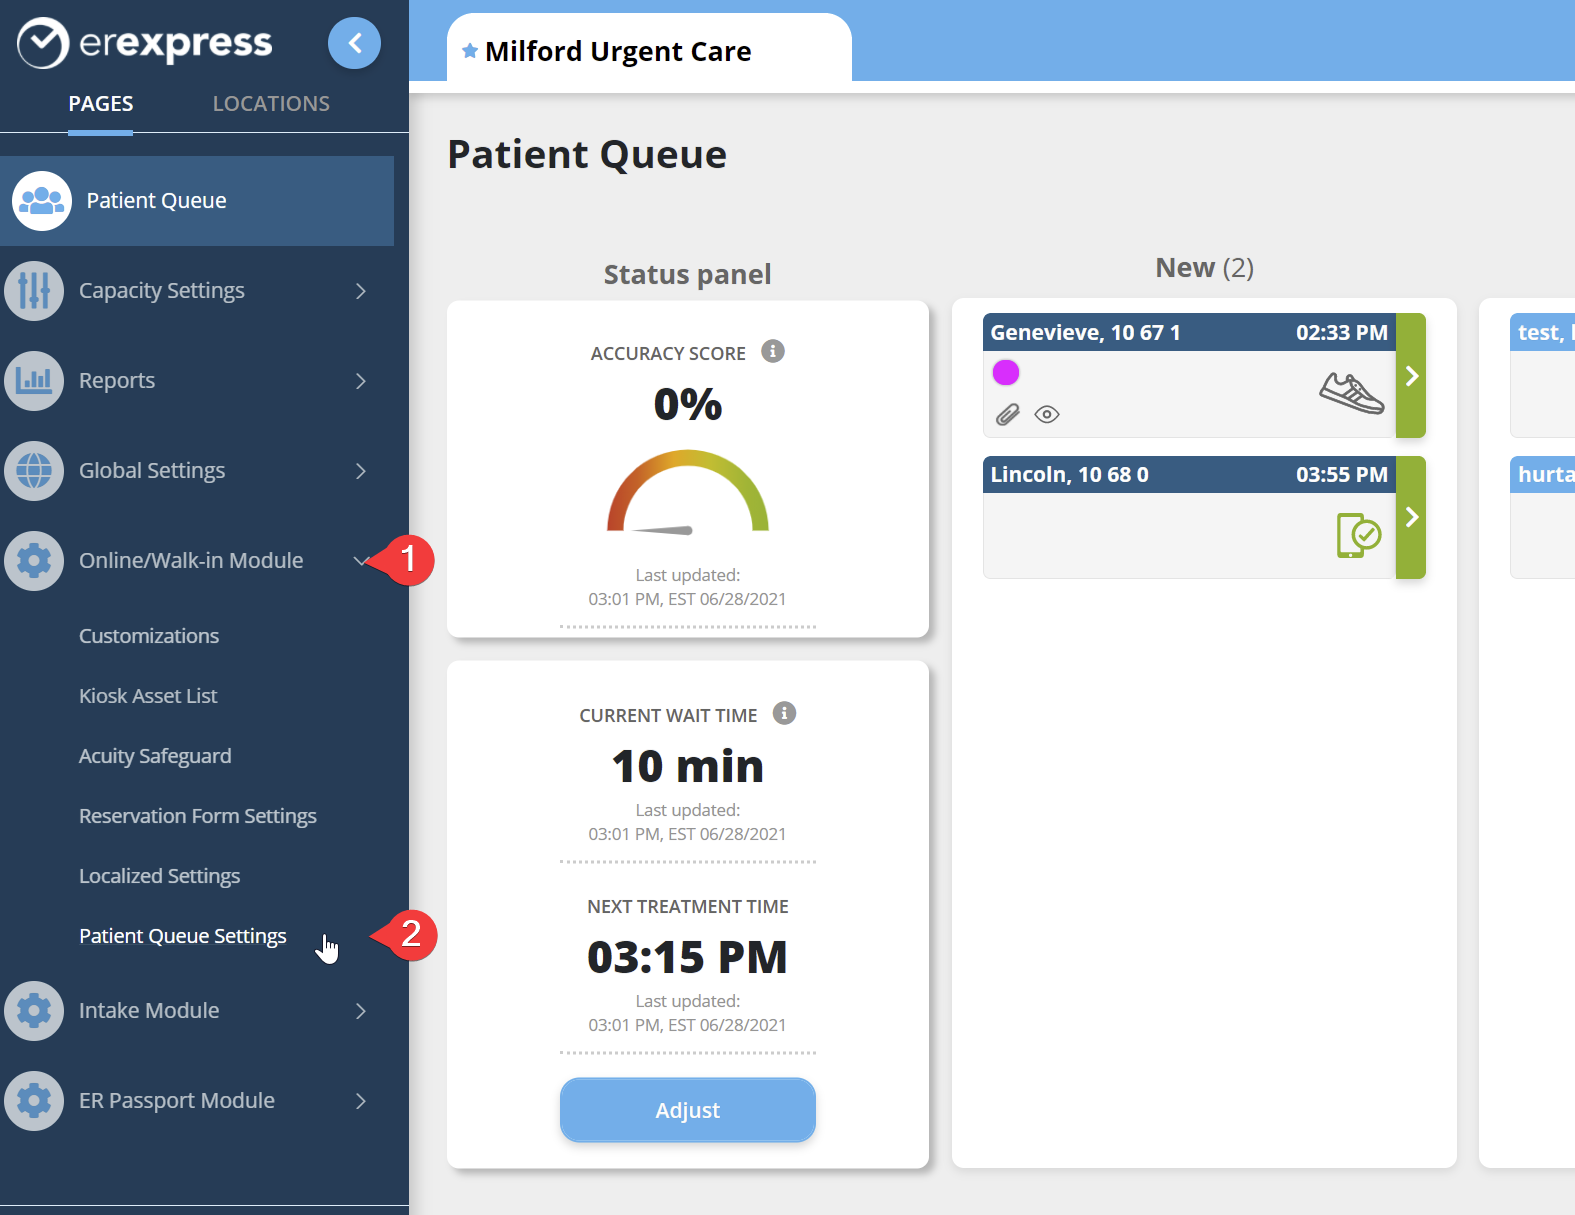
Step 1: Navigate to Online/Walk-in Module > Patient Queue Settings.
Step 2: Scroll down to the setting 'Add Fourth Column.' Toggle the setting on using the corresponding button on the right. A pop-up message will appear notifying you that the status panel will be set to 'MINIMIZED' once this change is made. This is just to create more computer screen real estate - your status panel will still be accessible in the patient queue. Click 'Save.'
Note: To learn more about your status panel options, please read this article: Setting the Status Panel

Step 3: Navigate back to the Patient Queue to see that the fourth column has been added. The fourth column is by default labeled 'In Treatment.' To learn how to edit this label, read the article directly below this one. Notice the status panel is now 'minimized' and can be expanded by clicking on the tab labeled 'Status panel.'
How to Change the Label of the New Column:
Step 1: Navigate to Online/Walk-in Module > Patient Queue Settings.
Step 2: Click on the setting labeled Patient Queue Names. Toggle Column 4 to Custom. Type the new label in the text field and click Save.
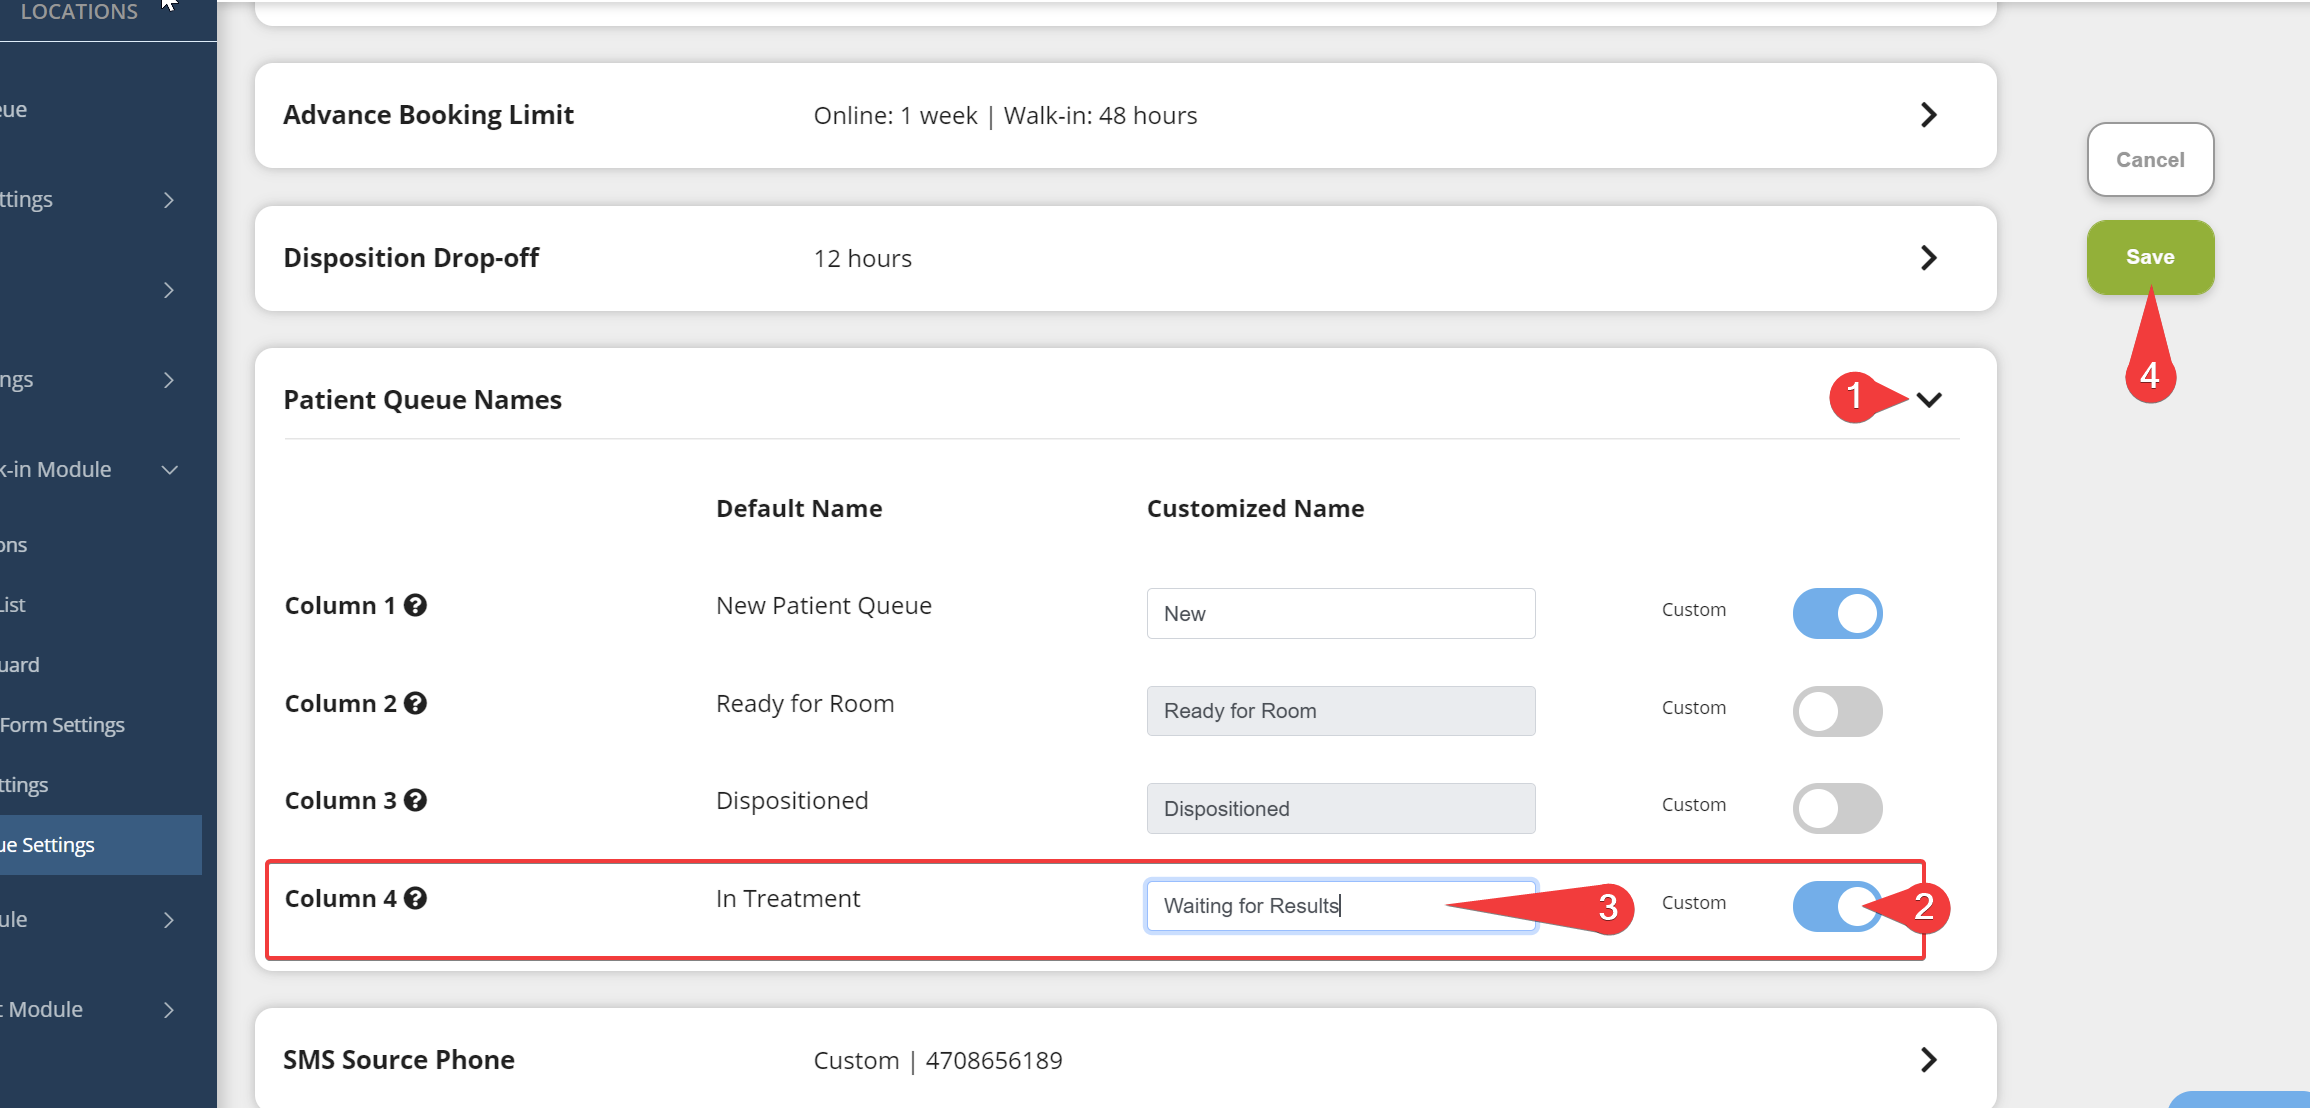
Step 3: If you are changing the label of the column, it is likely that you would also want to customize the messages sent to patients when they are moved to this new column. To learn how to customize these messages, read the section below.
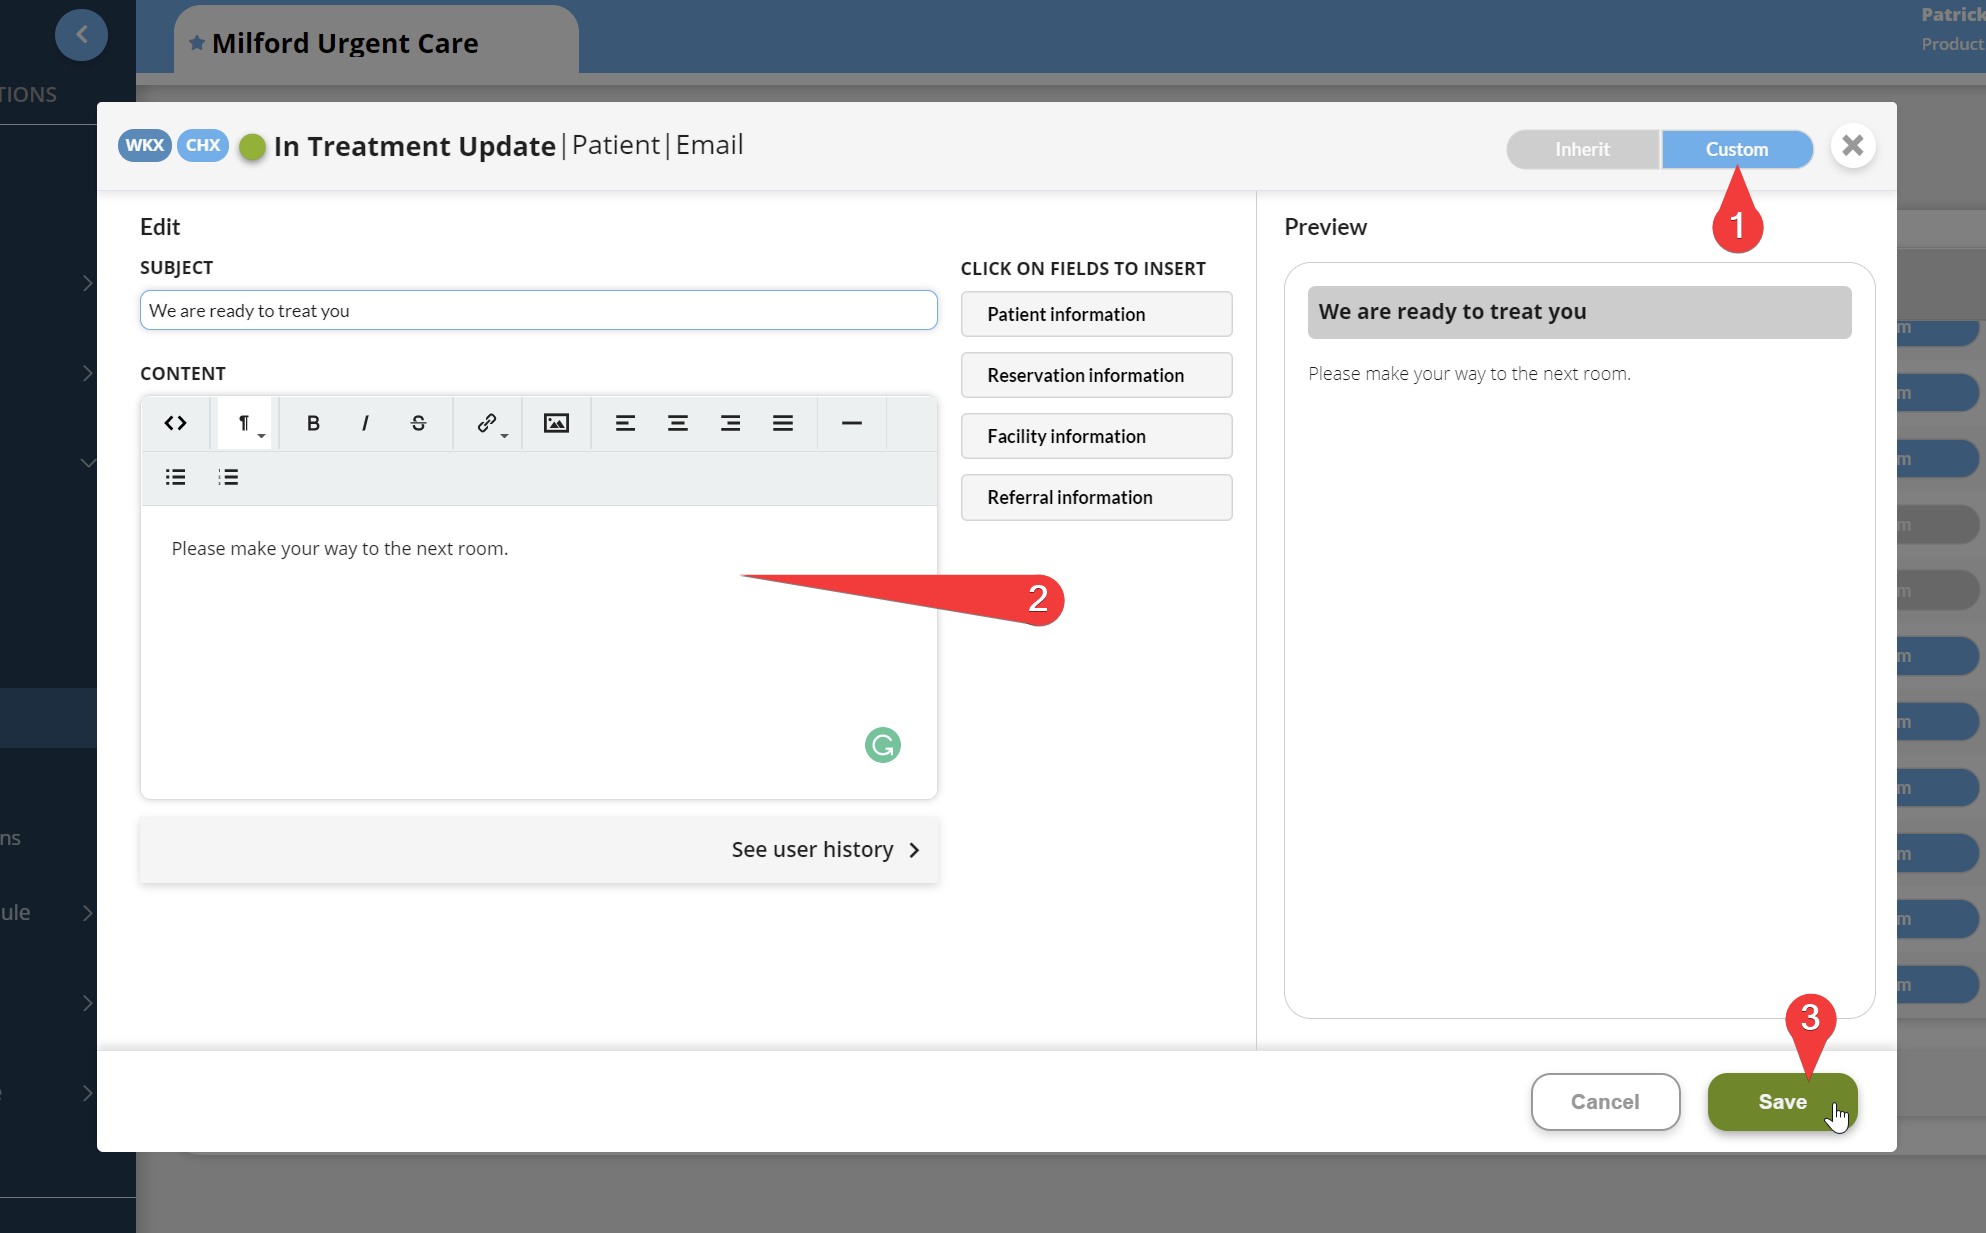
How to Customize the Messages Sent to Patient Moved Into the New Column
Note: If you are a part of a multi-campus health system, it is a good idea to make these edits at the parent-level. That way all changes will automatically be inherited by the child facilities and you won't have to edit each facility individually. If you need additional help, please visit this help desk article: How to Manage your Alert Templates
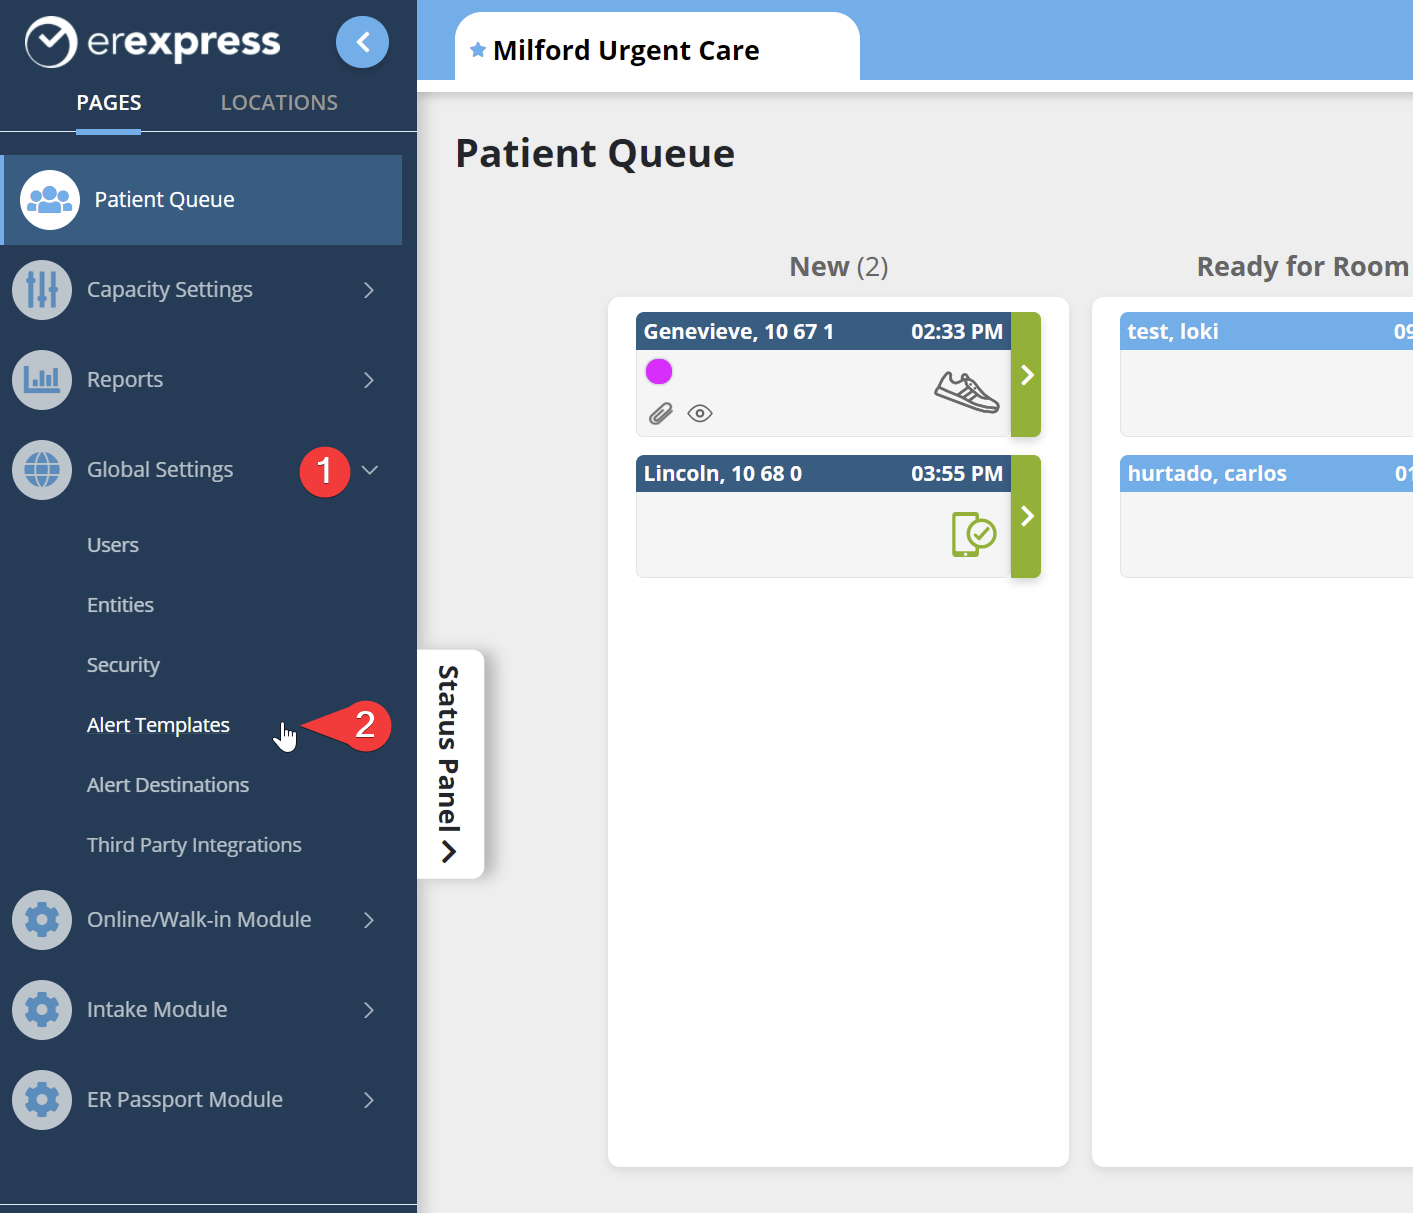
Step 1: Navigate to Global Settings > Alert Templates.
Step 2: Scroll down to Alerts 52 - 56. These are all of the alerts associated with the new column. Double click the one you wish to edit and change it to be 'Custom'. Edit the message and save. To better understand how to customize alerts and the full capabilities of customization, please visit this help desk article: How to Manage your Alert Templates.