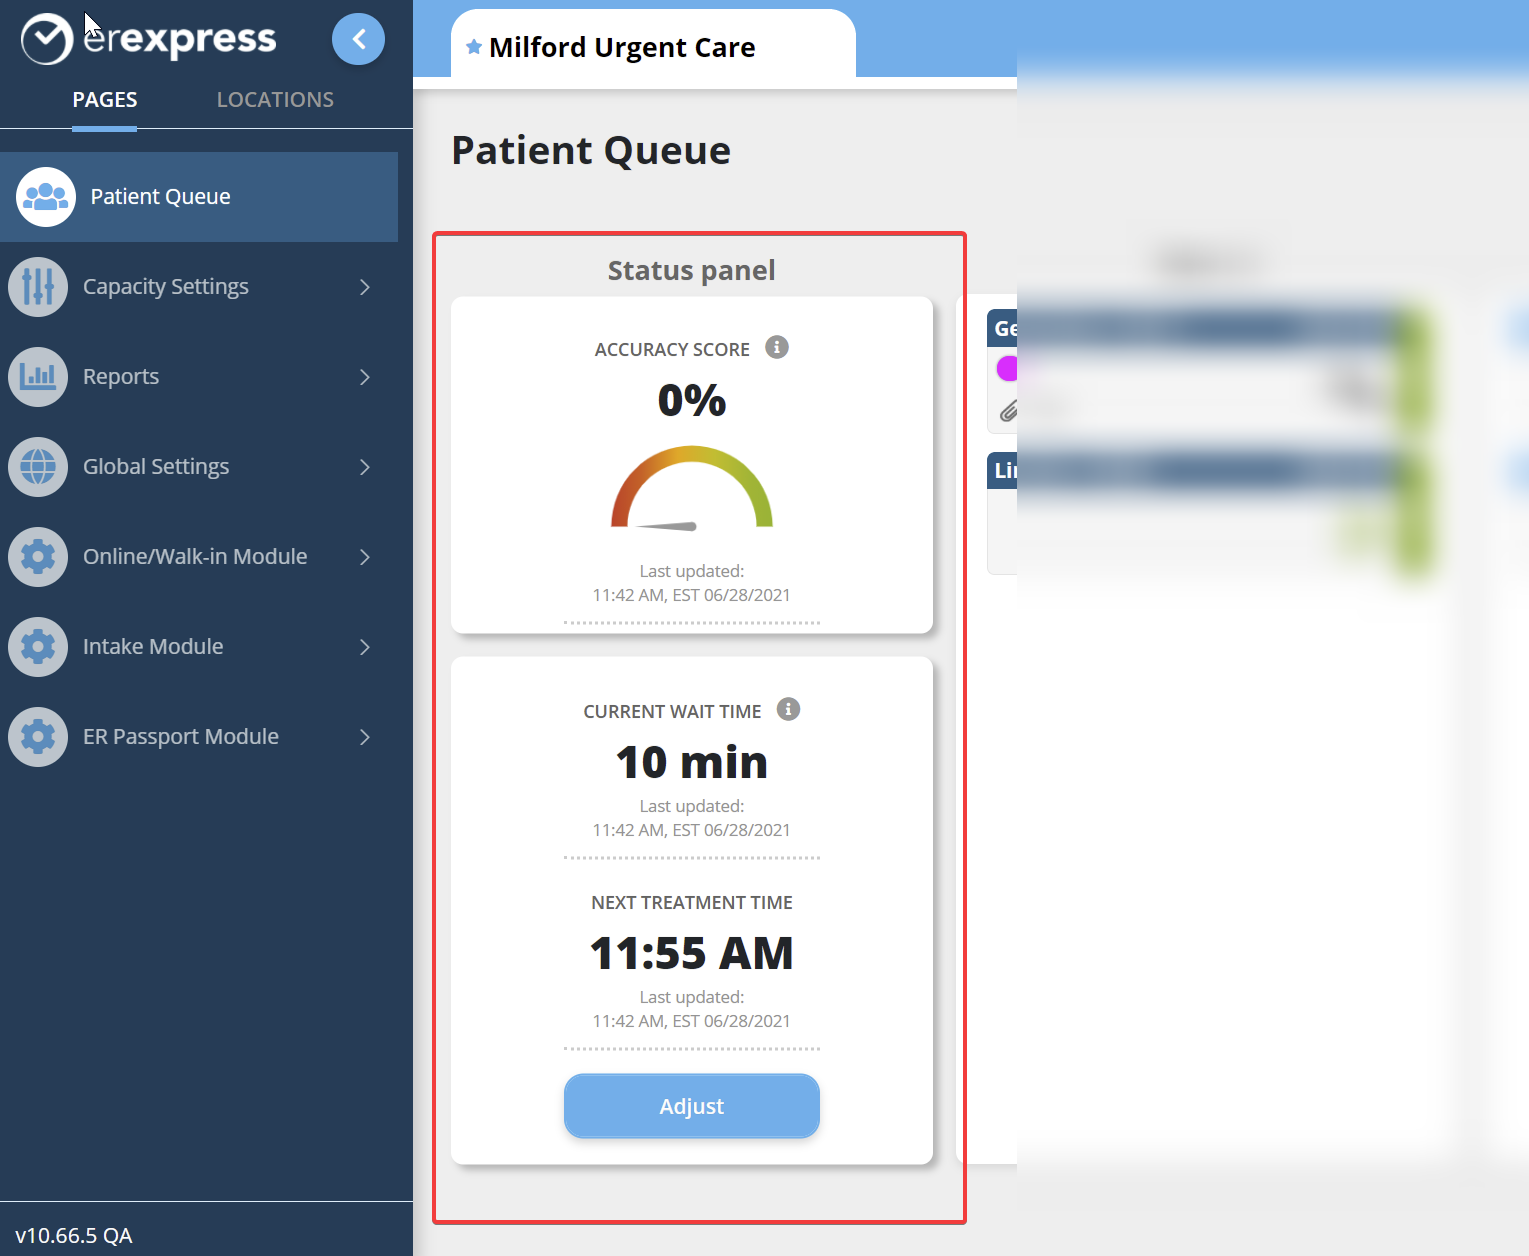
The status panel can be set to four different default states: Fixed, Expanded, Minimized, and Hidden.
By default, your status panel is set to be 'fixed', always being shown with no option to collapse/hide it. If you have a fourth column in your workflow, then your status panel will be set as 'minimized' by default. This article will go through each status panel setting, showing what it looks like and laying out the pros/cons, then will show you how to configure these settings.
Fixed
This is the default setting for all facilities. It will always show on your patient queue. This setting is ideal for facilities that regularly refer to the status panel and only have 3 columns in their patient queue.
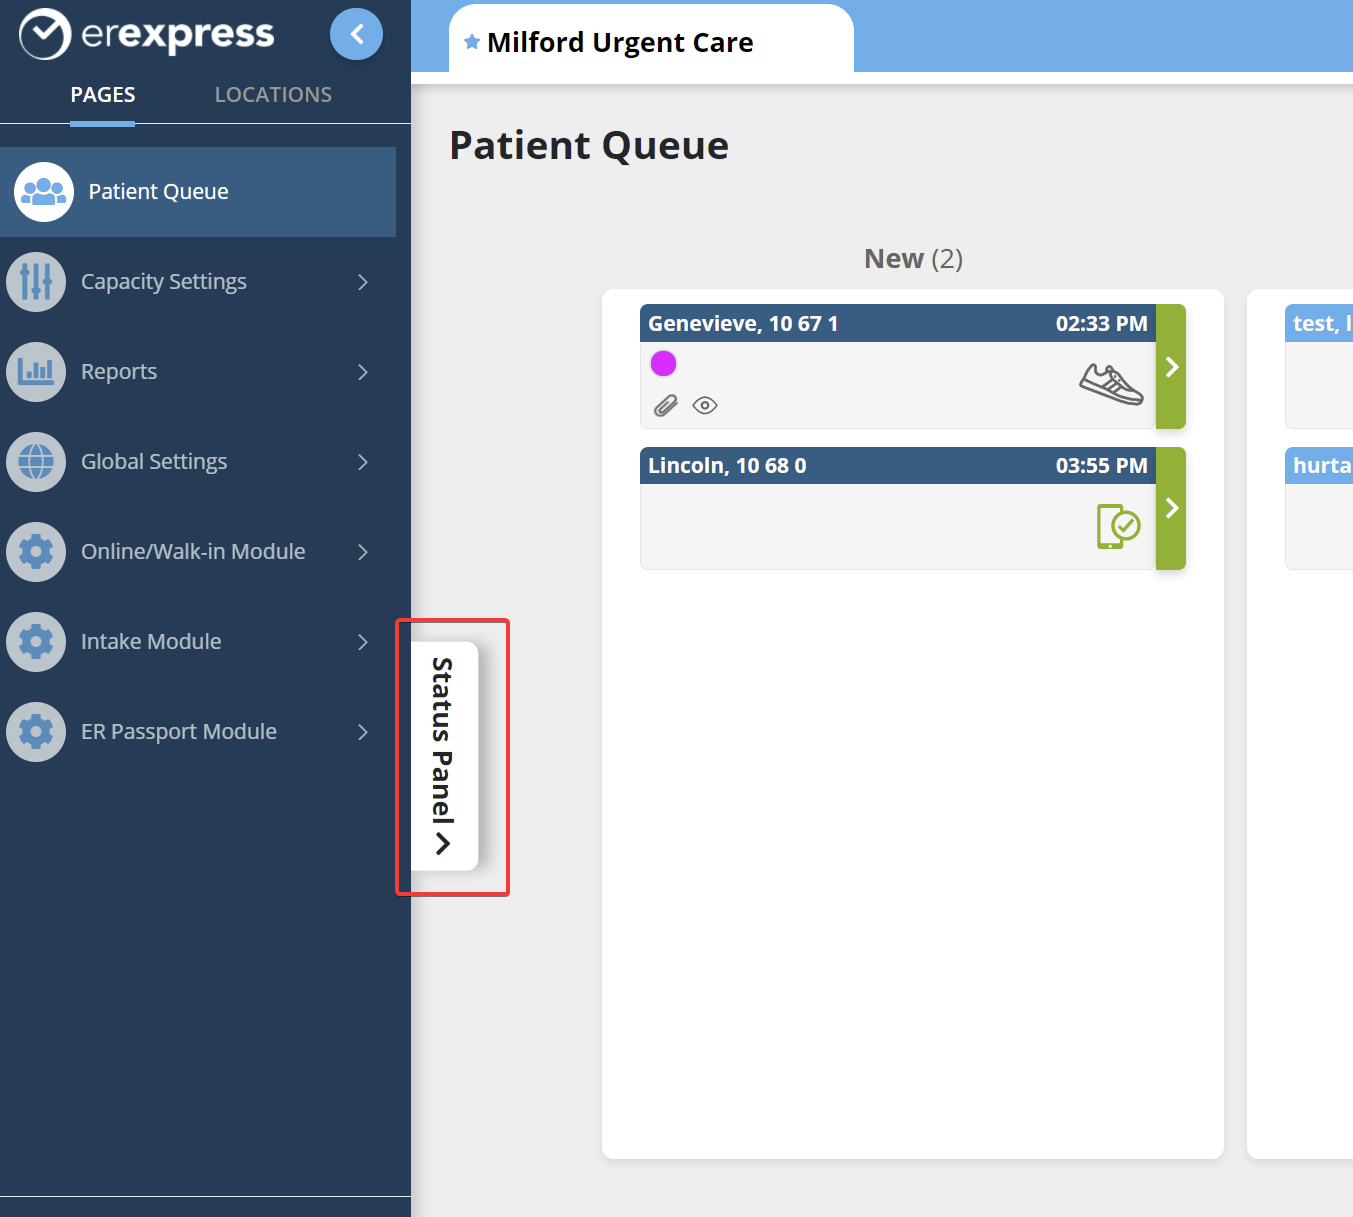
Minimized
This is the default setting for facilities using four columns in their patient queue. The status panel will be in a collapsed state, to minimize precious screen real-estate, and will expand to show the full status panel when a user clicks on the tab labeled 'Status panel'. This is the ideal state for facilities that only occasionally reference the status panel and that have 4 columns in their patient queue.
Expanded
This setting is very similar to the 'minimized' view, but has the opposite default state - the status panel is 'expanded' by default, rather than minimized. If your facility relies heavily on the status panel, but also has a fourth column, then this is the setting for you.

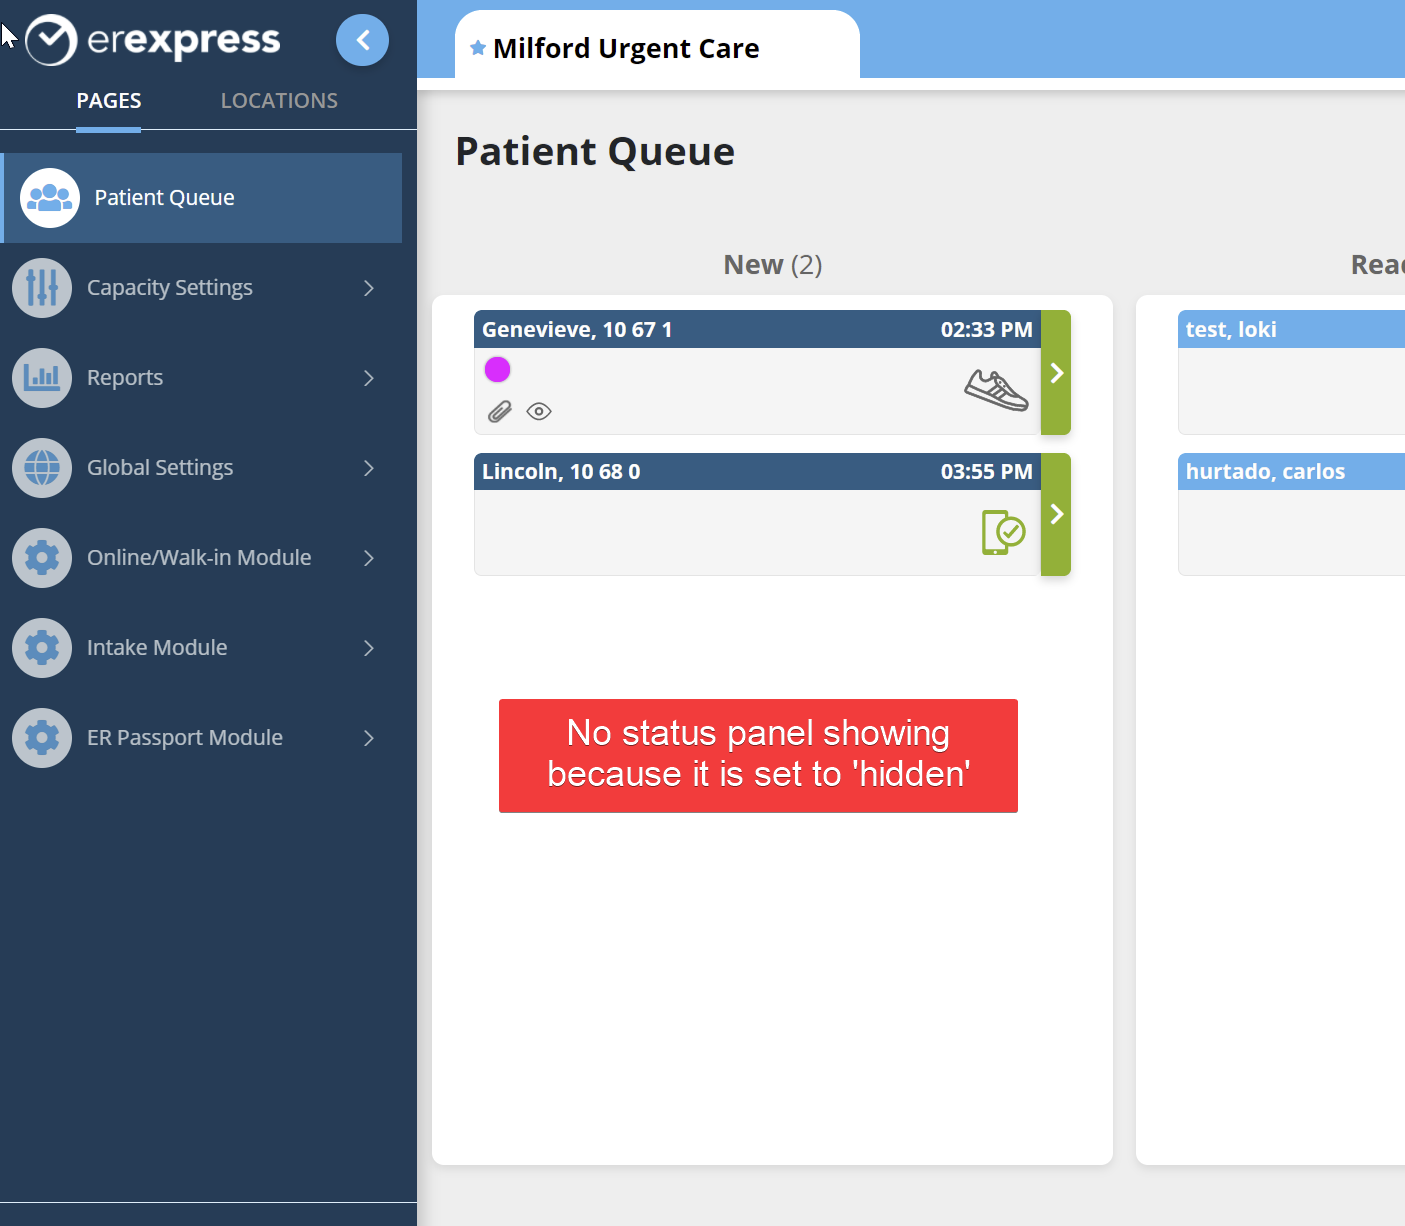
Hidden
This setting completely gets rid of the status panel. If your facility never references the status panel, then this is the setting for you.
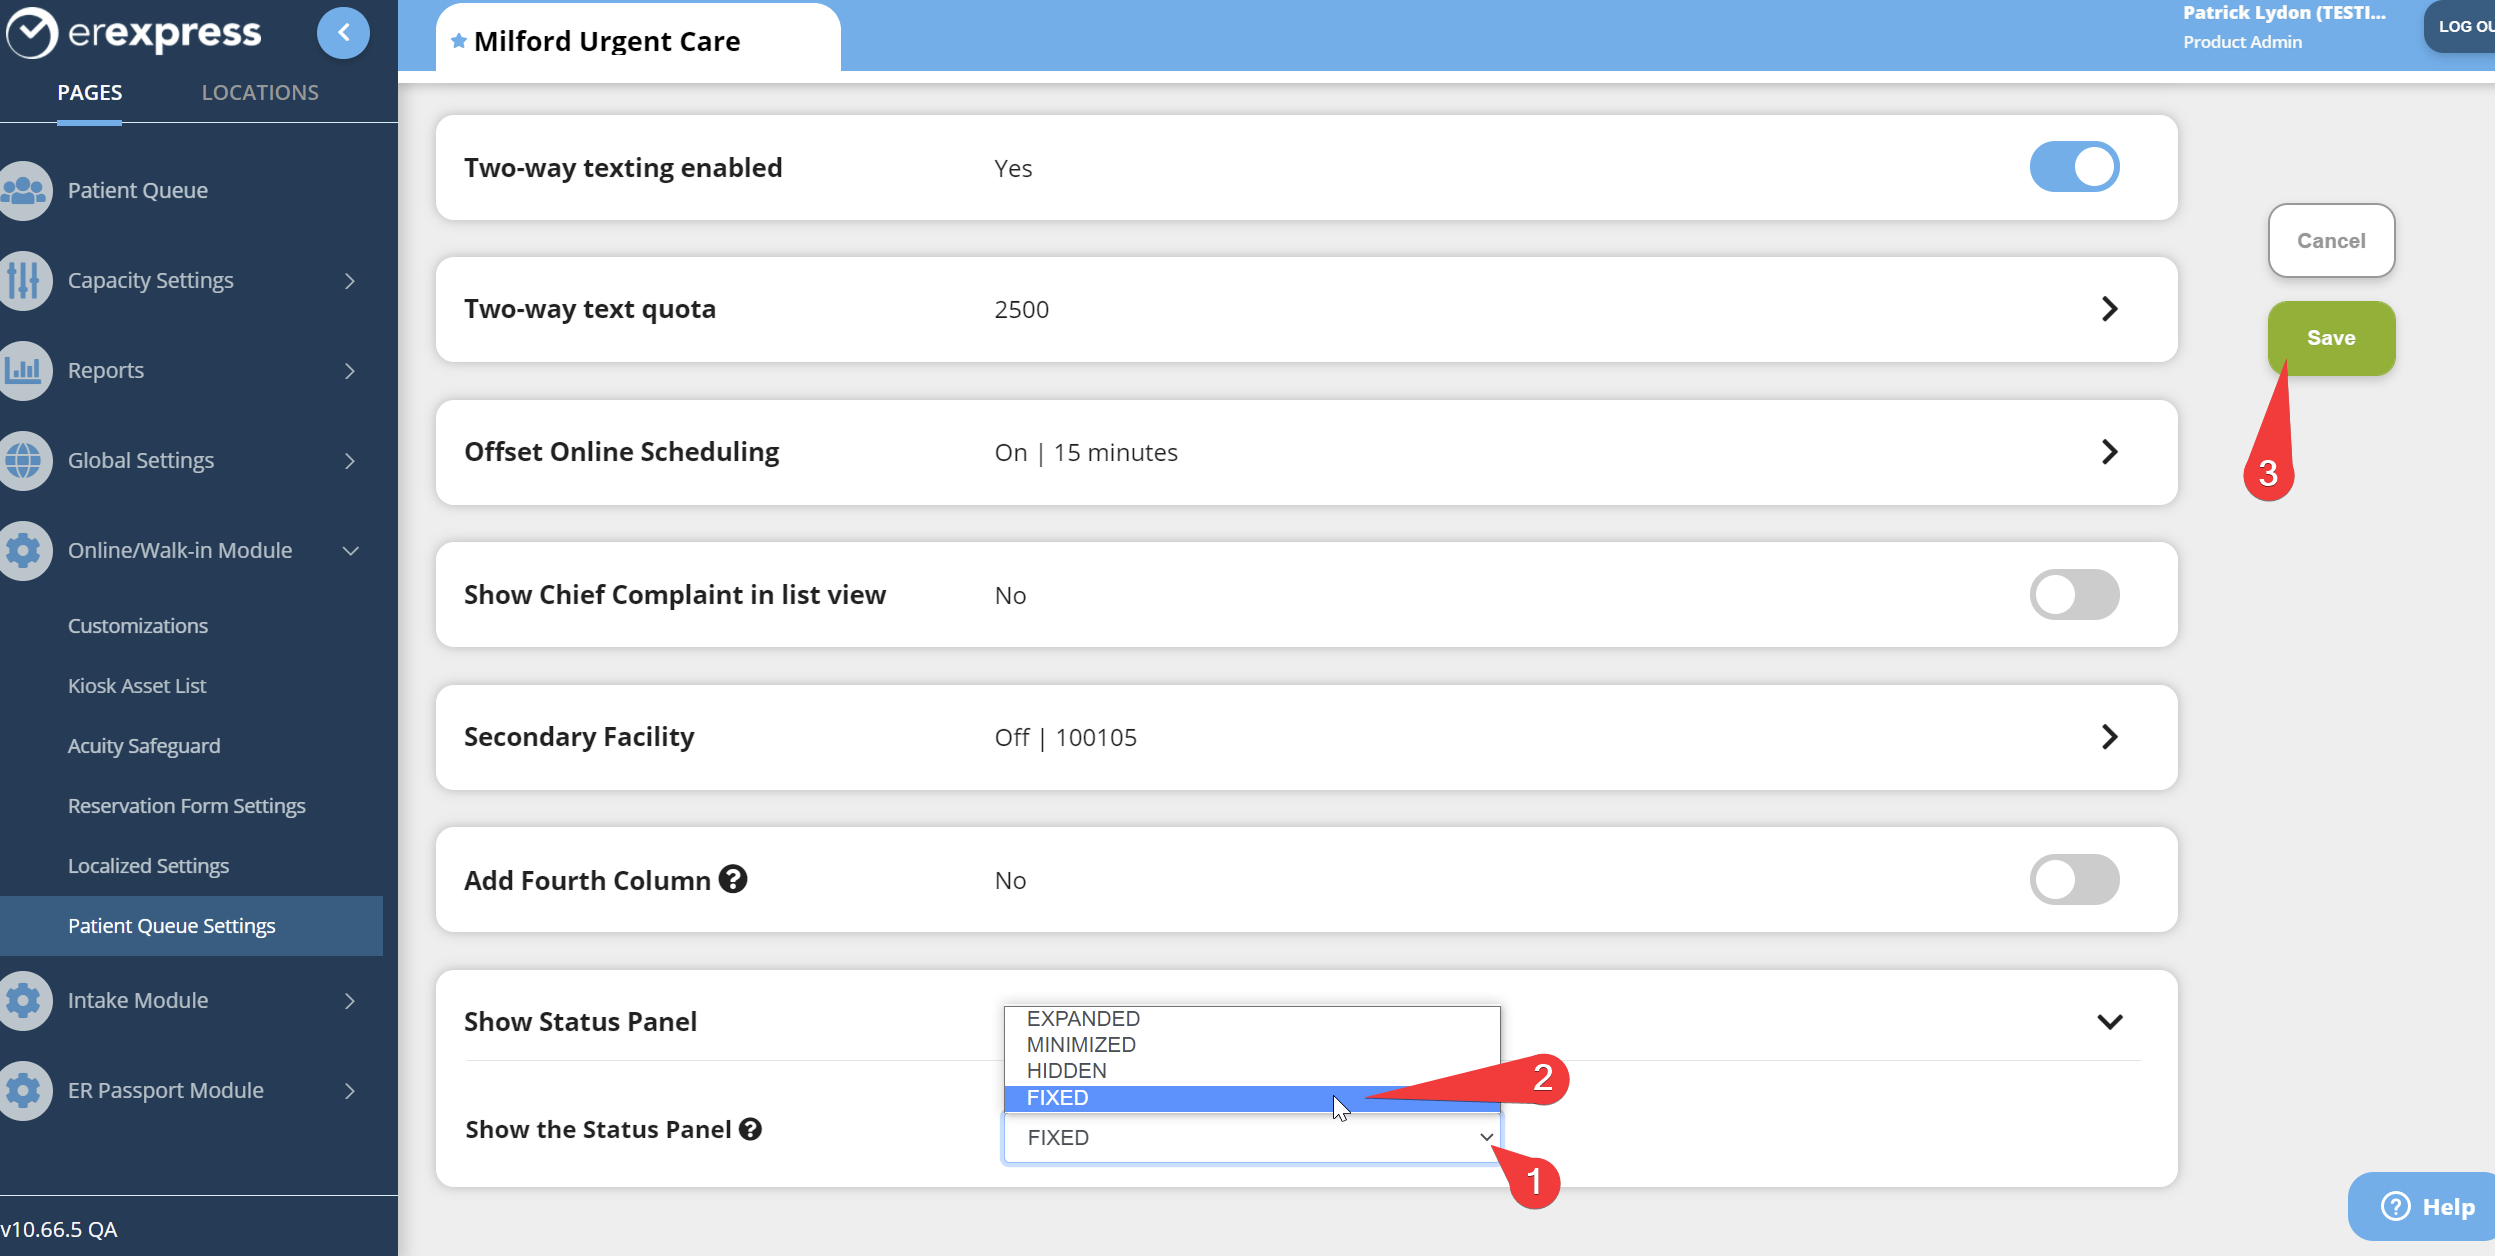
How to configure your facility's status panel setting:
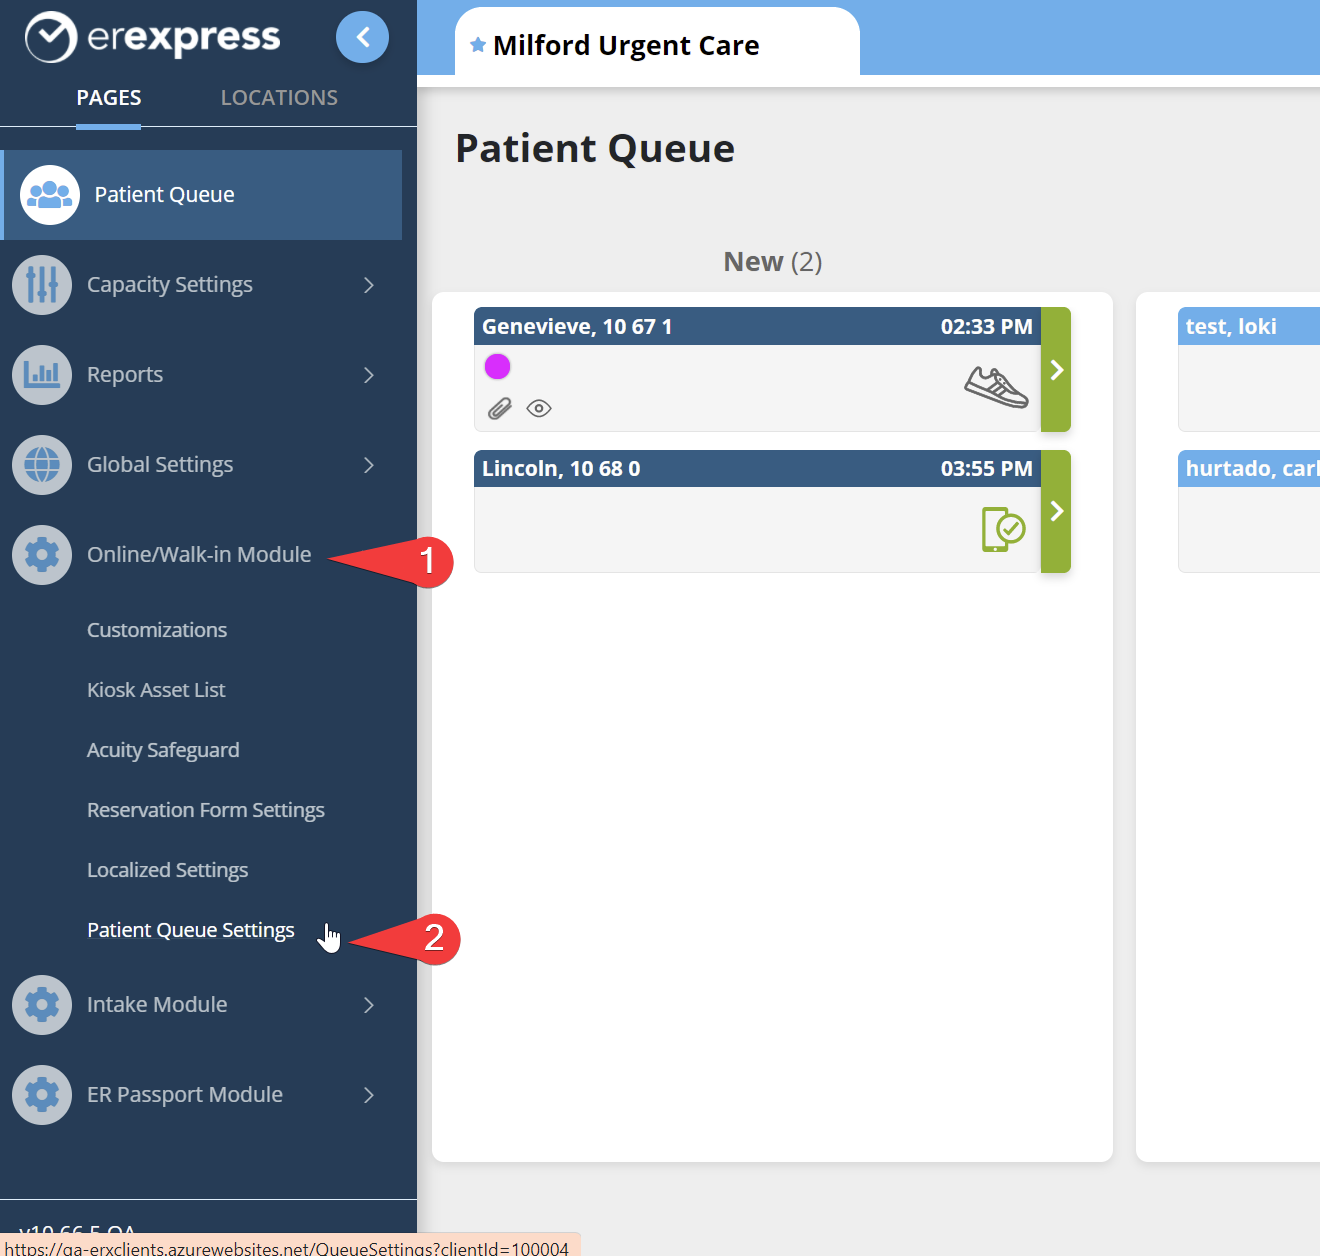
Step 1: Navigate to Online/Walk-in Module > Patient Queue Settings.
Step 2: Scroll down to the setting 'Show Status Panel' and click on it to open up the accordian folder. Click on the pencil icon to start making edits.
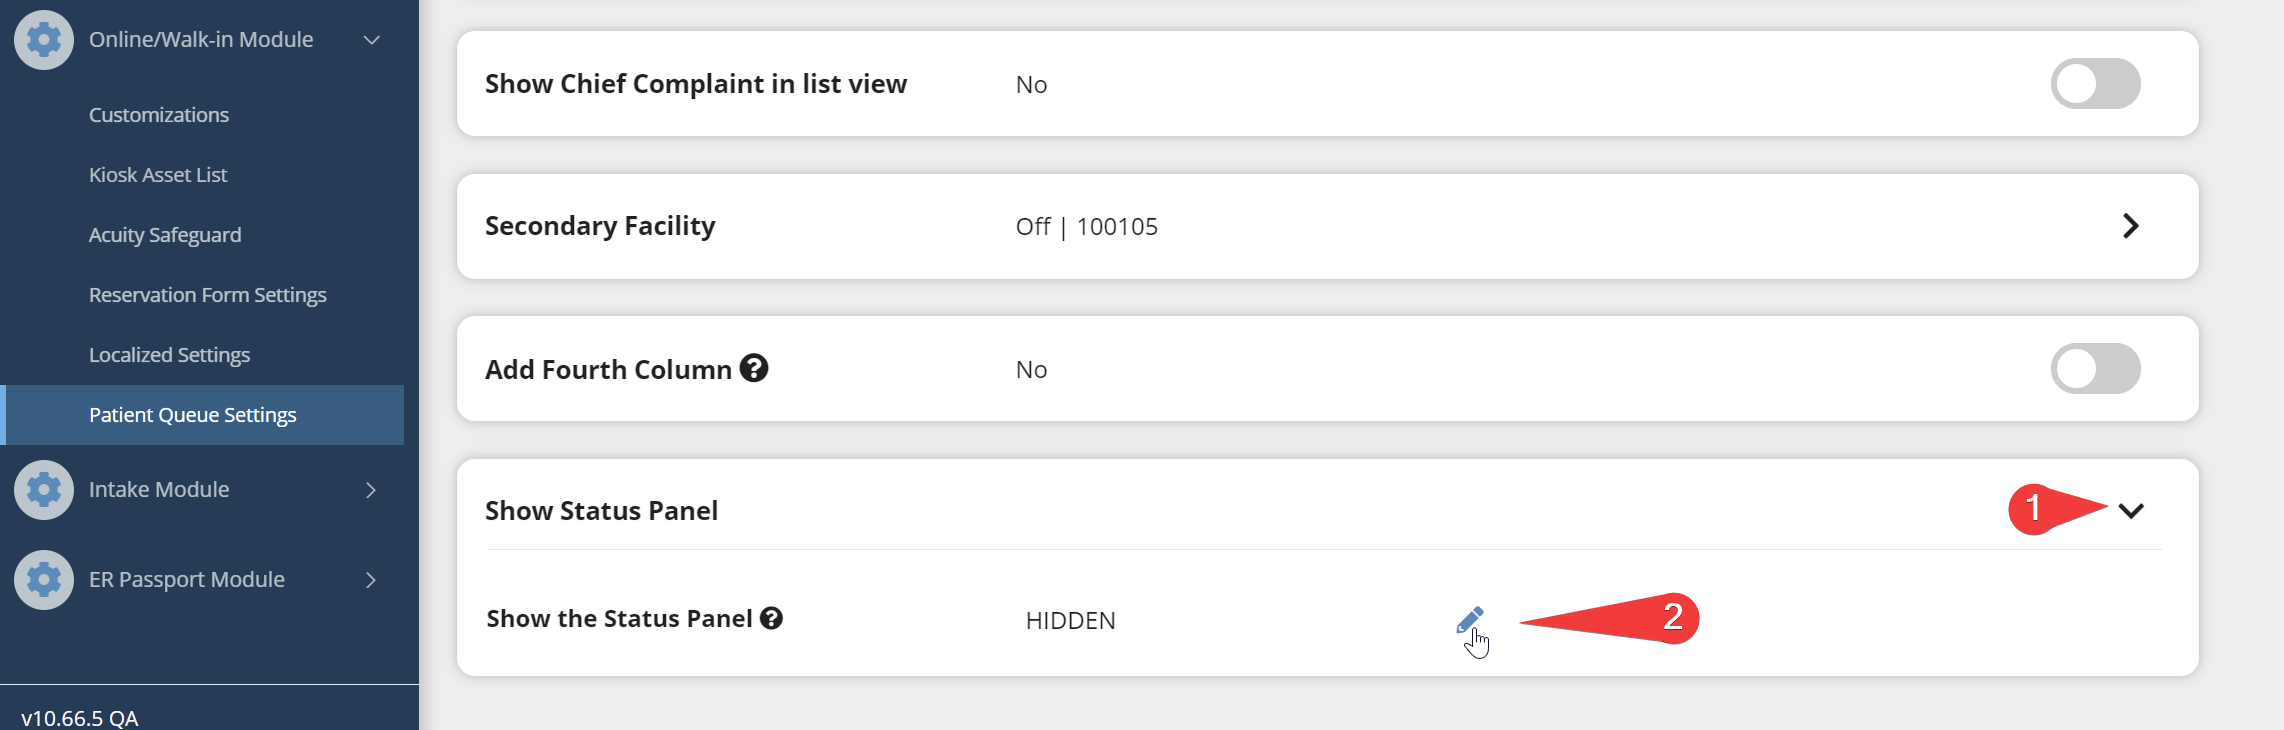
Step 3: Click on the dropdown menu to show the setting options. You have four different settings to choose from: Fixed, Expanded, Minimized, Hidden. Refer to the section above to learn more about these settings. Click on the setting you want and click save.